
Homeowners and electricians should follow a systematic approach to identify faulty circuits and electrical outlets. This includes a visual inspection for damage, using tools like voltage testers and multimeters for diagnosis, and pinpointing issues through combined observations. A step-by-step DIY repair guide emphasizes safety measures, such as turning off power at the main panel, before addressing problems like flickering lights or intermittent power. For complex issues, consultation with a professional electrician is recommended.
Need to fix those pesky faulty circuits and outlets? You don’t need to be a professional electrician to tackle these common home issues. This comprehensive guide walks you through identifying problem areas and provides a step-by-step process for repairs, empowering you to get the job done safely and effectively. Learn how to navigate a potential electrical labyrinth and restore your home’s wiring to optimal condition.
Identifying Faulty Circuits and Outlets
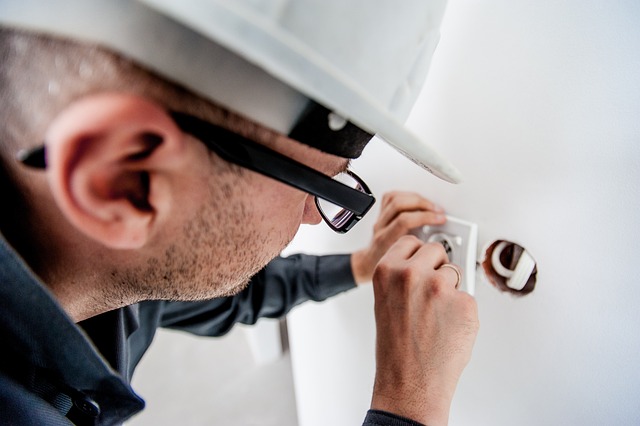
Identifying faulty circuits and electrical outlets is a key skill for any homeowner or even a professional electrician. The first step involves visually inspecting the outlet or switch for any signs of damage, such as burning marks, melted plastic, or exposed wires. If an outlet feels warm to the touch or trips the circuit breaker frequently, it’s a clear indicator that something is amiss.
Electricians use specialized tools like voltage testers and multimeters to diagnose the problem further. A voltage tester can quickly confirm if power is reaching the outlet, while a multimeter measures voltage, current, and resistance, providing detailed insights into the electrical circuit. By combining these observations, an electrician can pinpoint whether the issue lies with a faulty outlet, a damaged wire inside the wall, or a more complex problem within the circuit itself.
Step-by-Step Guide to Repairs

Step-by-Step Guide to Repairs
If you suspect a faulty circuit or outlet, it’s crucial to approach the repair with caution and consider calling an electrician for complex issues. However, for minor problems, follow these steps. First, turn off the power at the main electrical panel to ensure safety. This is a vital step, especially when dealing with exposed wiring. Next, use a voltage tester to check if the outlet or switch is live. If it’s not, you can proceed with troubleshooting. Inspect the wiring for any signs of damage, loose connections, or frayed cables. Tighten connections and replace damaged components as needed.
For outlets, check the back for loose screws securing the outlet to the circuit board. Re-tighten them or replace the outlet if necessary. In cases of flickering lights or intermittent power, identify the problematic circuit and reset the circuit breaker. If issues persist, consult a professional electrician to diagnose and fix more intricate problems.
When it comes to ensuring a safe and functional home, addressing faulty circuits and outlets is paramount. By learning to identify problems and following a simple repair guide, homeowners can save time and money, preventing potential hazards. Remember, while these tasks may seem straightforward, seeking the expertise of a qualified electrician is always recommended for complex issues. With their knowledge and tools, professionals can quickly resolve problems, ensuring your home’s electrical system is up to par.